Dashboard Discovery
Welcome to AppSwite!
After creating your organization, a welcome message appears:
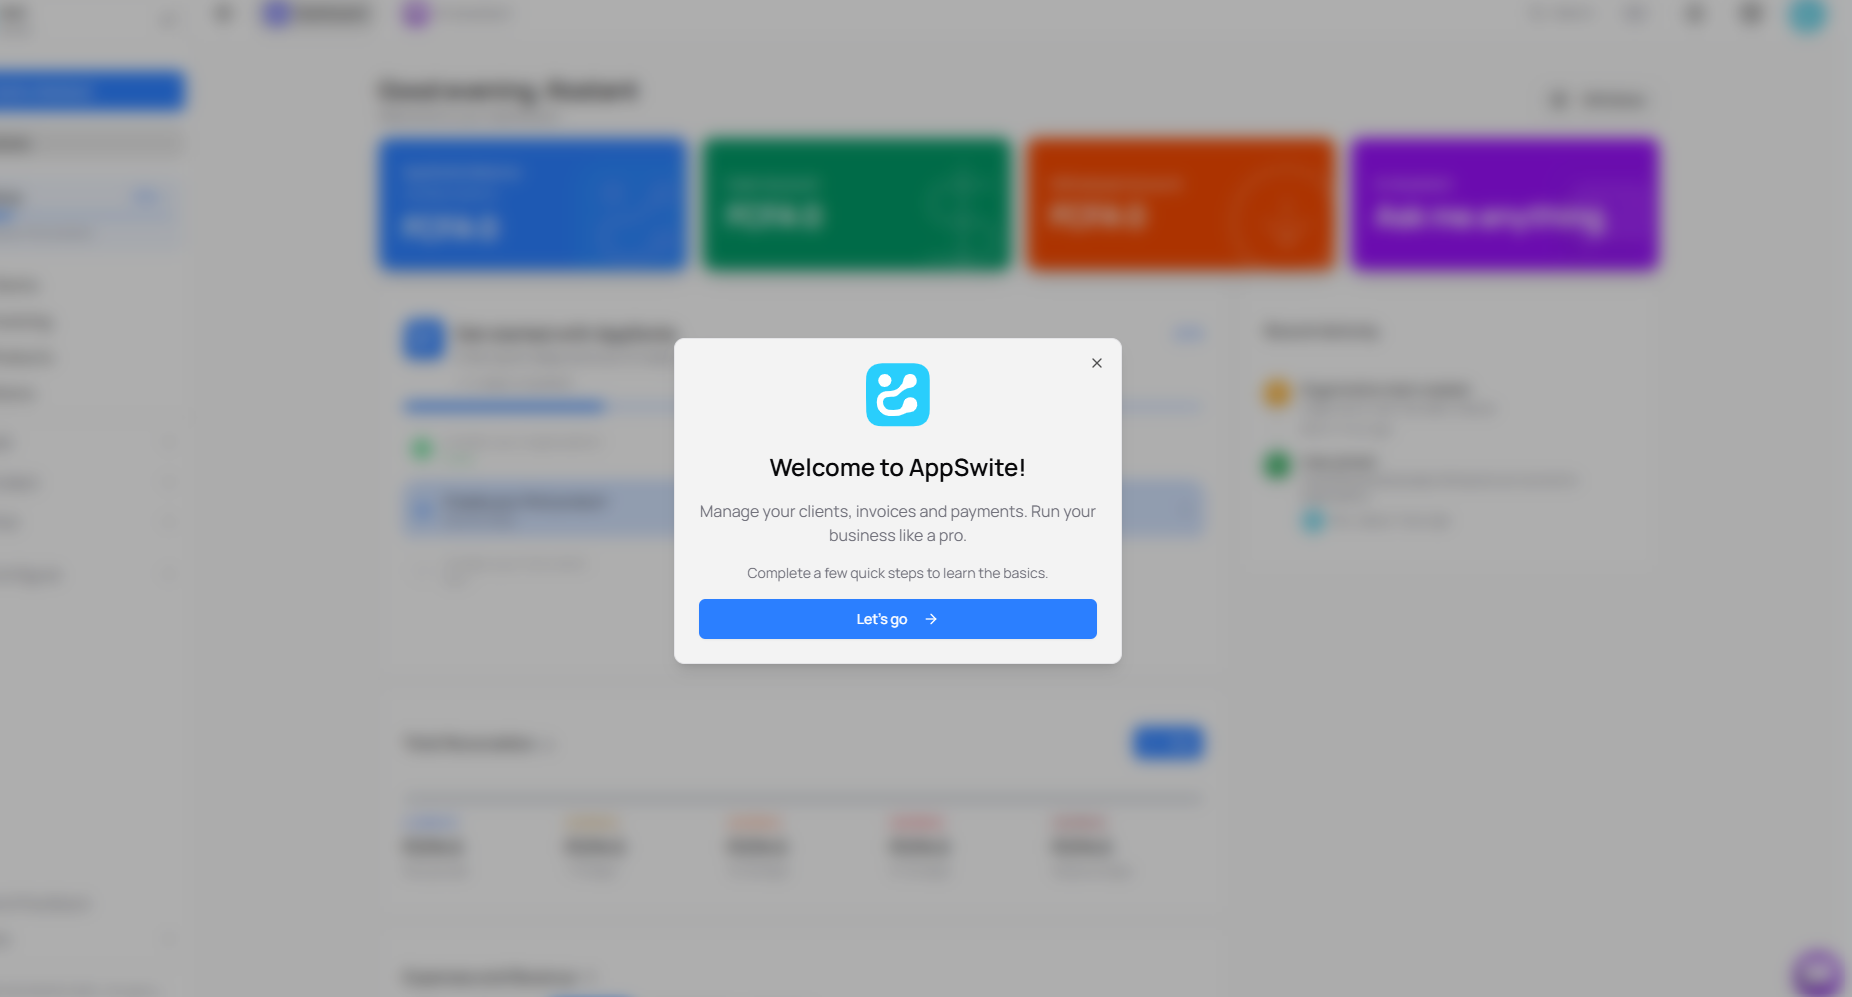
This message welcomes you and invites you to complete the configuration steps to learn how to use the application. Click on "Let's go" to start.
The setup guide
After clicking on "Let's go", a side panel opens on the right to guide you:
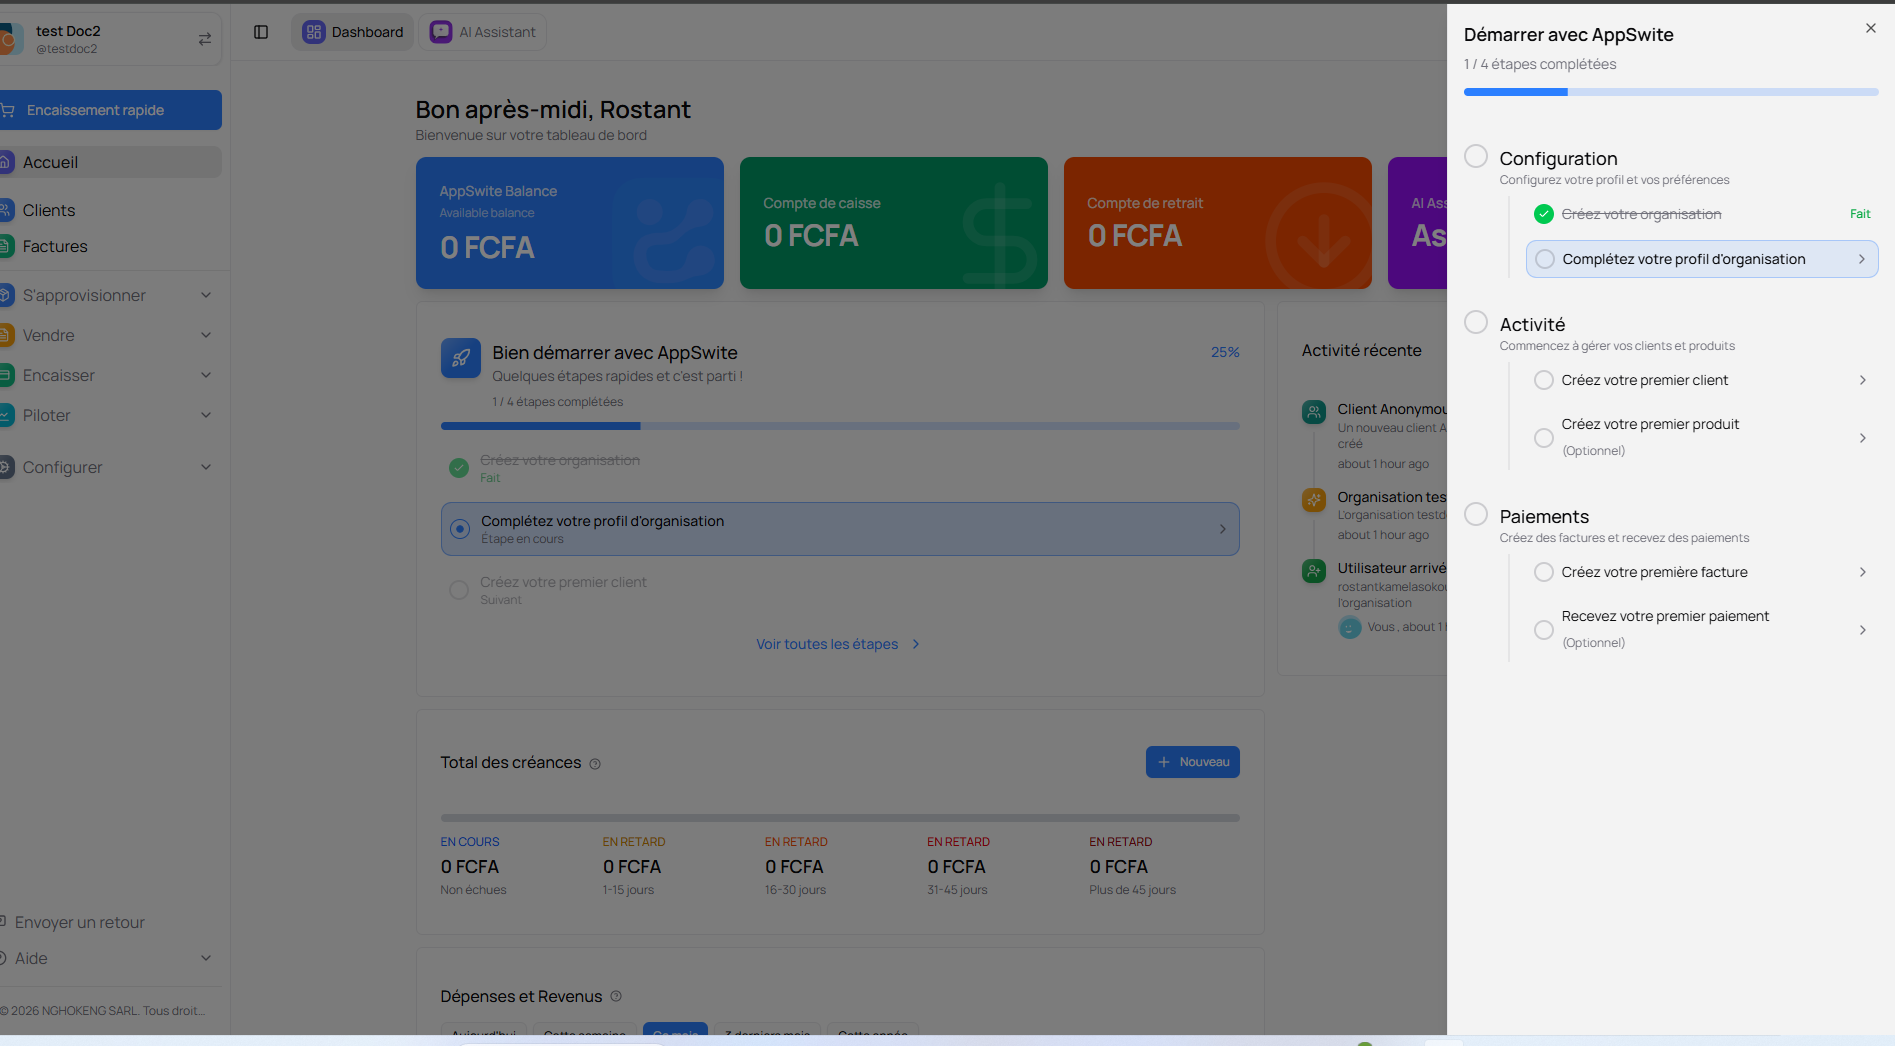
This "Start with AppSwite" panel shows you the steps to complete to set up your account:
Configuration
- Create your organization - Already done
- Complete your organization profile - To do
Activity
- Create your first client - To start managing your clients
- Create your first product - Optional
Payments
- Create your first invoice - To bill your clients
- Receive your first payment - Optional
This guide remains accessible while you explore the application.
Your main dashboard
Once the setup guide is open, you discover your complete dashboard:
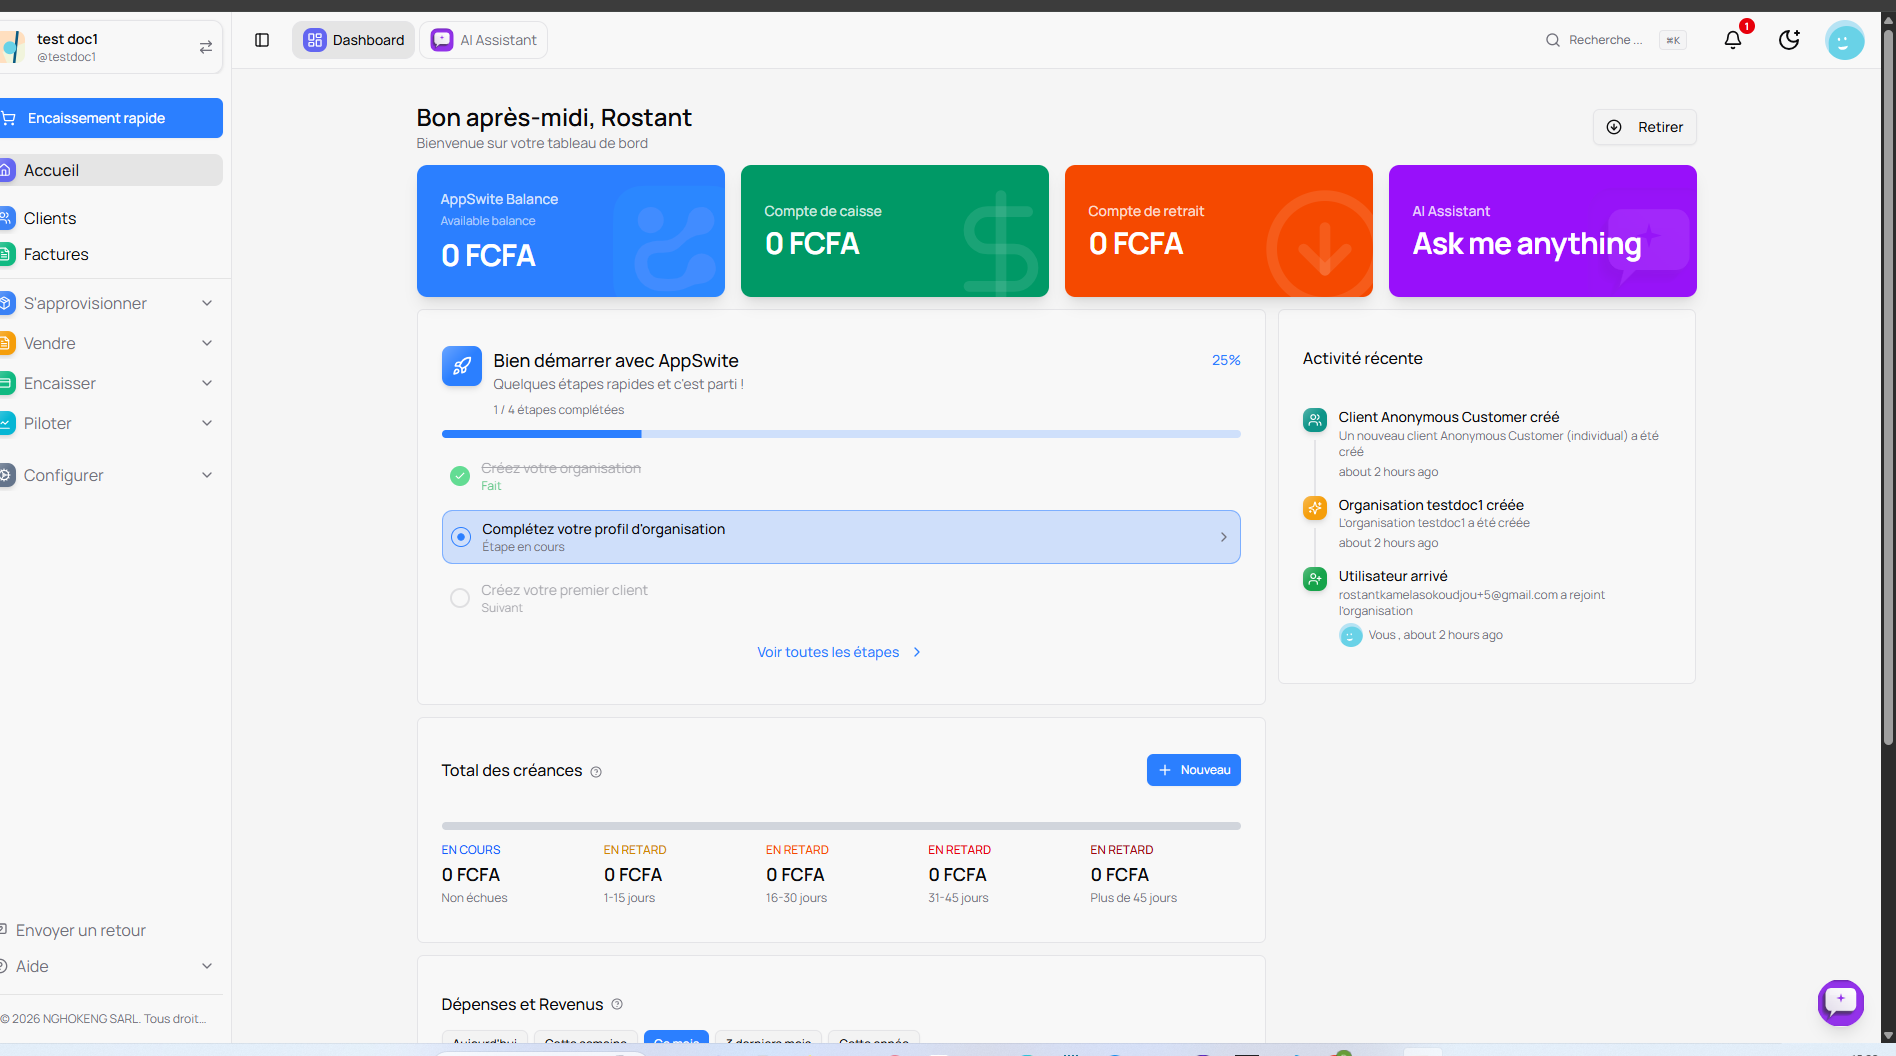
At the top of the screen
Four colored cards display your balances:
- Blue card - AppSwite Balance: Your available balance
- Green card - Cash account: Your main cash register
- Orange card - Withdrawal account: Your withdrawal account
- Purple card - AI Assistant: Access to intelligent assistance
All amounts are displayed in FCFA.
The "Get started with AppSwite" section
In the center of the dashboard, a section displays your progress:
- Progress bar at 25% (1 out of 4 steps completed)
- Create your organization (Done)
- Complete your organization profile (Step in progress)
- Create your first client (Next)
- Create your first product
Click on "See all steps" to display the full guide on the right side.
Recent Activity
On the right side of the dashboard, this section displays the latest actions:
- Client creation
- Organization creation
- New user arrivals
Total Receivables
This section shows the status of your invoices pending payment, sorted by time:
- IN PROGRESS - Invoices not yet due
- OVERDUE - Overdue invoices (1-15 days, 16-30 days, 31-45 days, Over 45 days)
Expenses and Revenue
At the bottom of the dashboard, the "Expenses and Revenue" section allows you to track your financial performance:
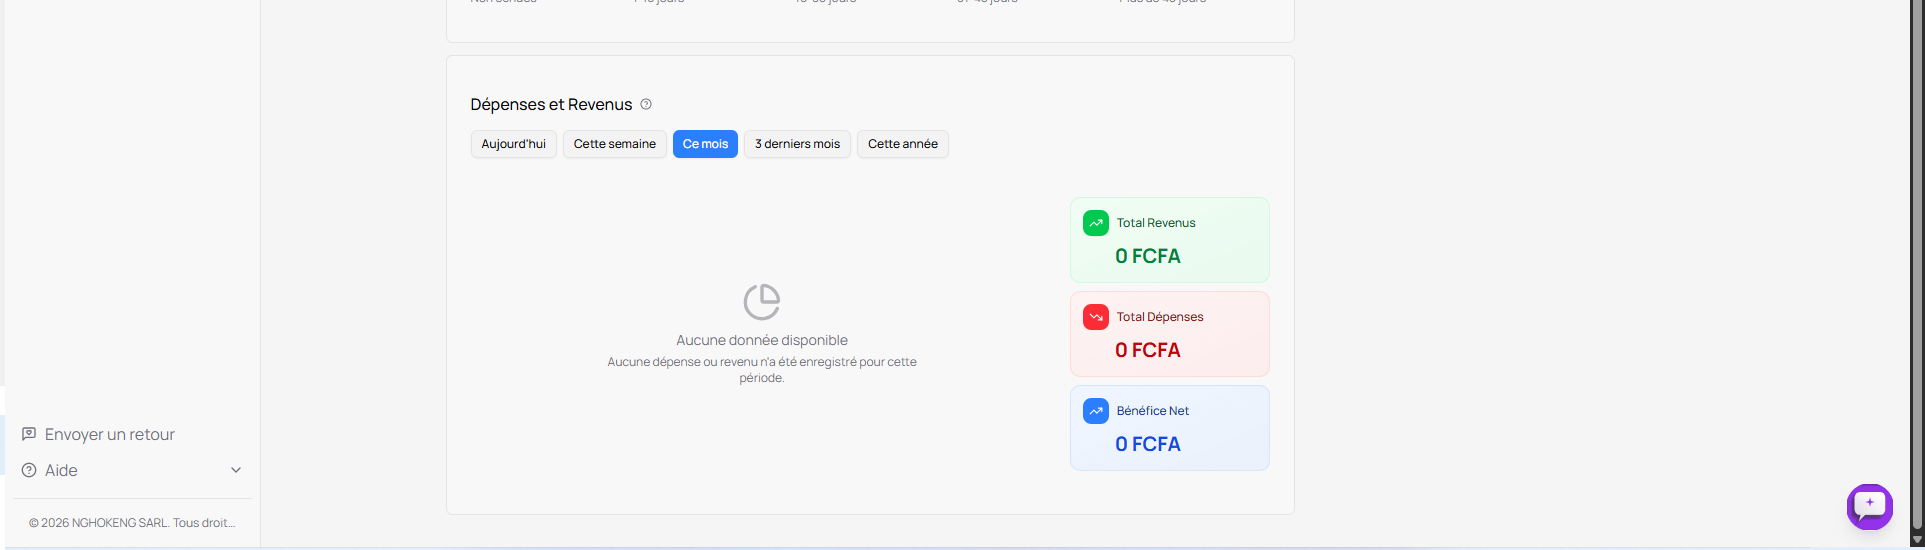
Period filters
At the top of this section, five buttons allow you to filter data by period:
- Today - Today's data
- This week - Data for the current week
- This month - Data for the current month (selected by default)
- Last 3 months - Data for the last three months
- This year - Data for the current year
Financial indicators
Three cards display your key indicators:
Total Revenue (green card)
- Displays the total of all your collections over the selected period
- In green to indicate money coming in
Total Expenses (red card)
- Displays the total of all your expenses over the selected period
- In red to indicate money going out
Net Profit (blue card)
- Displays the difference between your revenue and your expenses
- Net profit = Total Revenue - Total Expenses
- Indicates your profitability over the period
Initial state
When you start using AppSwite, no data is recorded yet. A message is displayed:
- "No data available"
- "No expenses or revenue have been recorded for this period"
As you create invoices, collect payments, and record expenses, these indicators will update automatically.
Navigation Sidebar
On the left of the screen, the main menu gives you access to all features:
Main menu
- Quick Checkout (blue button) - To quickly record a payment
- Home - The dashboard you are currently seeing
- Clients - Managing your clients
- Invoices - Creating and tracking invoices
Dropdown menus
Three sections with arrows to access more options:
Supplies
- Options related to purchases and stocks
Sell
- Quotes
- Orders
- Deliveries
- Subscriptions
- Sales Pages
Collect
- Payments received
- Collection tracking
Manage
- Finances
- Expenses
- Activities
- Reports and statistics
Configure
- Organization
- Team
- Settings
Tips for getting started
- Follow the guide: Use the "Start with AppSwite" panel so you don't forget anything
- Complete your profile: Start with the "Complete your organization profile" step
- Explore the menu: Discover all available features
- Regularly check the dashboard: Keep an eye on your revenue, expenses, and profits
- Use period filters: Analyze your performance over different periods
You are now ready to use AppSwite to manage your business!